What the Fix Involves
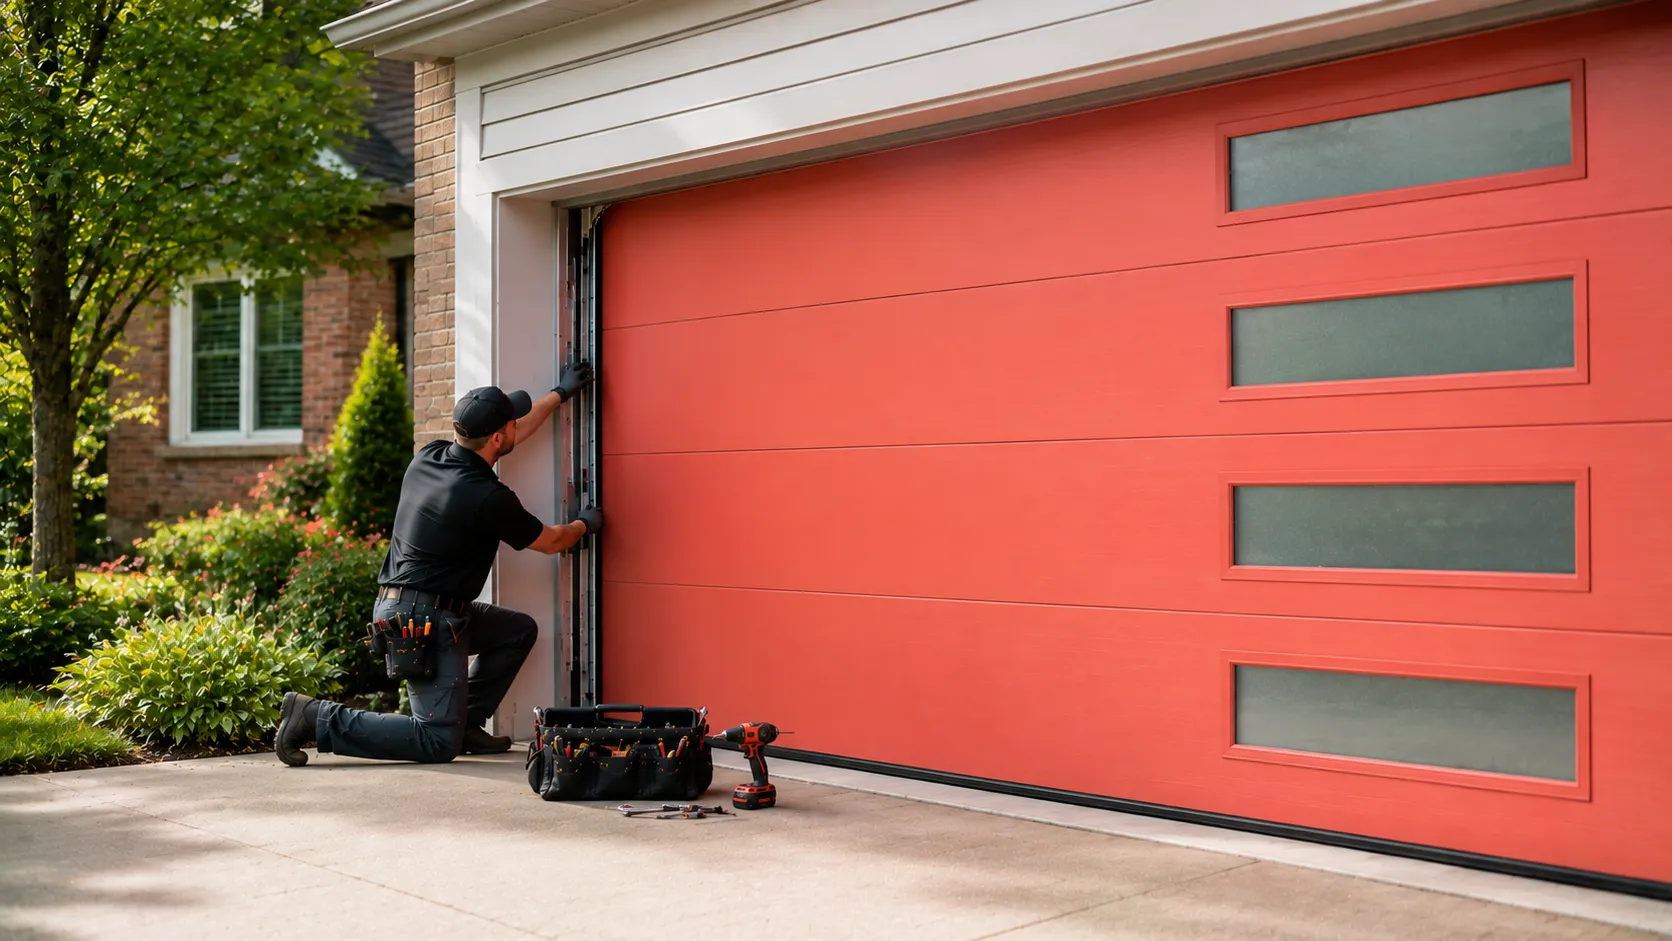
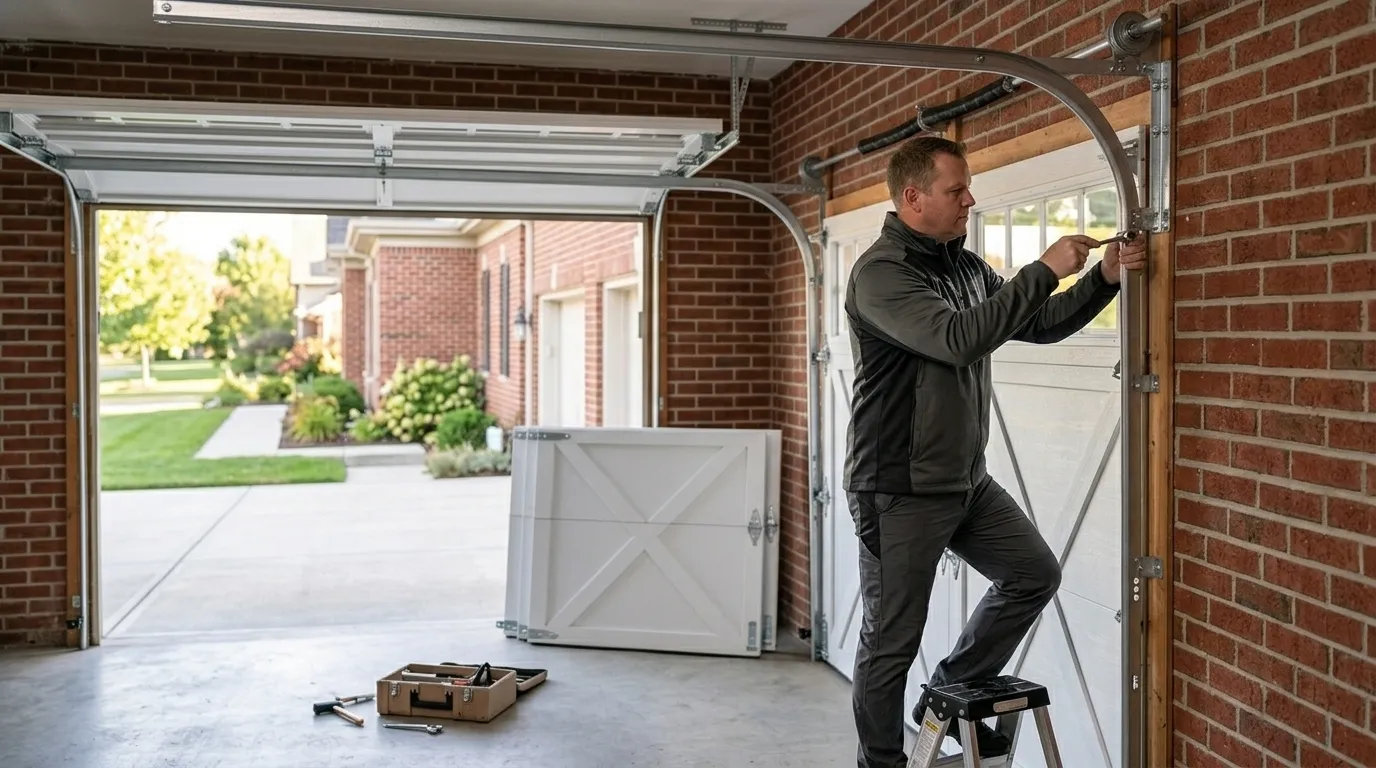
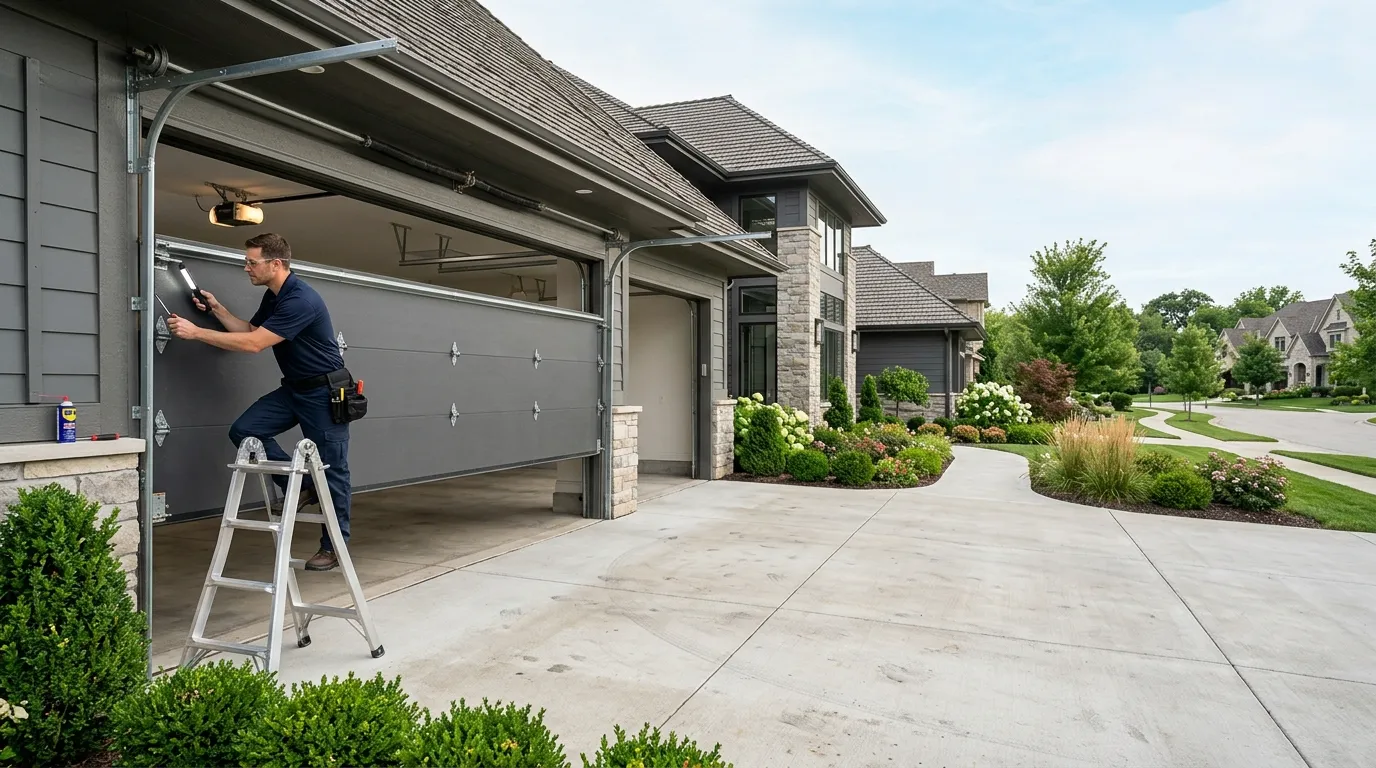
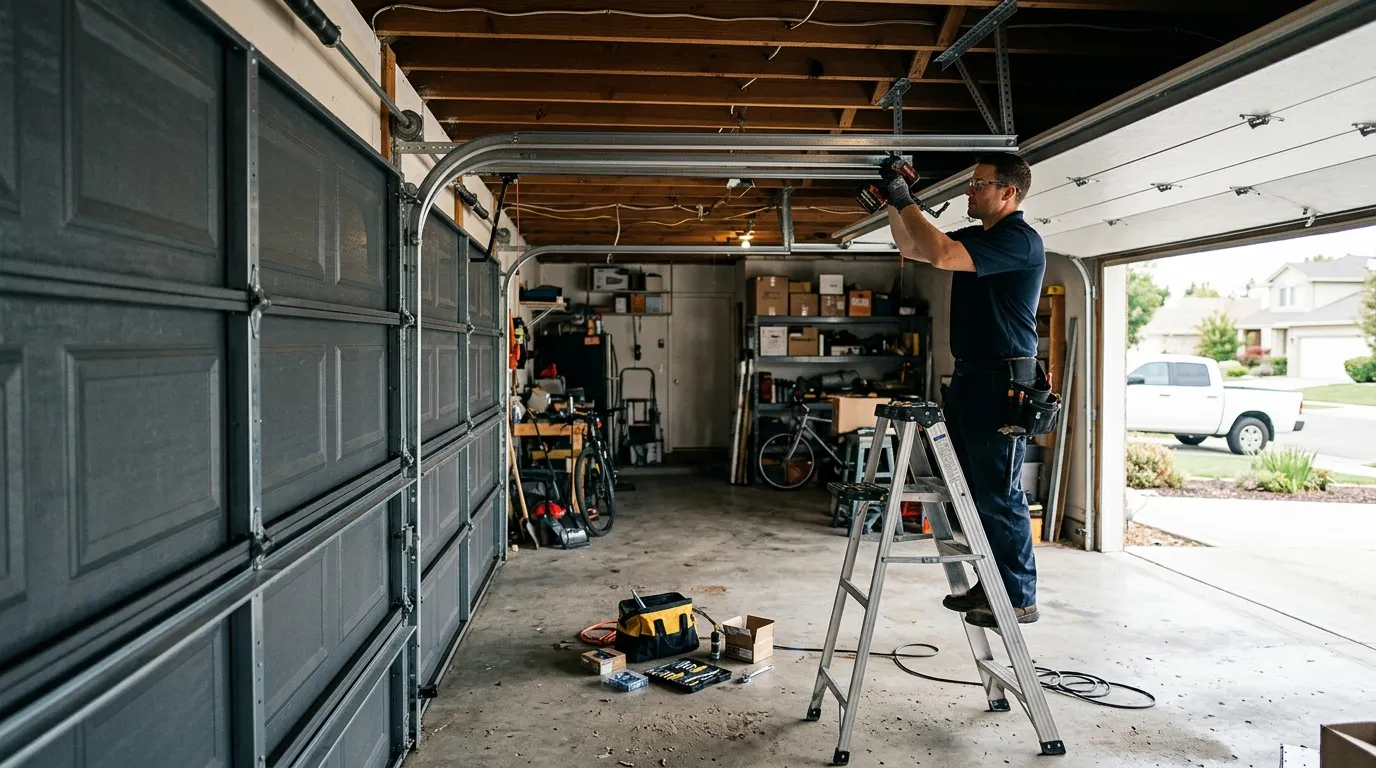
Opener repair usually comes down to one of a handful of parts: the logic board, the safety-reversal sensors, the drive gear (chain, belt, or screw), or the wiring running from the unit to the wall switch. On a house built around 1949, the garage itself is frequently a detached single-car structure added or converted later, which means the opener's power run was fished through an existing wall rather than planned in from the start. That's the first thing a tech checks - not because Darby houses are unusual, but because a retrofit opener on an older structure fails differently than one installed alongside new construction.
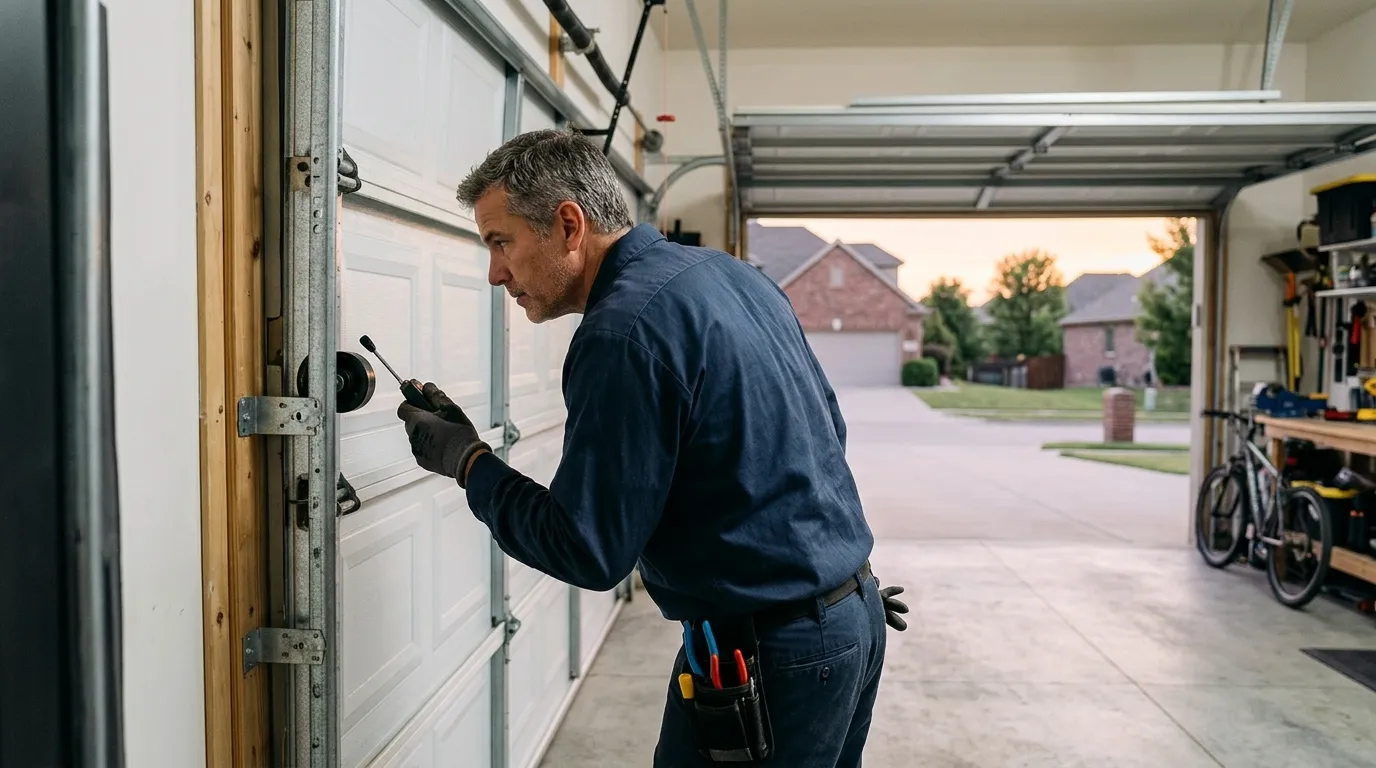
Sensor misalignment is the single most common no-close complaint we see on any older setup - a knocked bracket, a spider web across the beam, a curled cable. That's a five-minute fix once someone's on site. A dead logic board is a different job: swap the board, reprogram the remotes, check the travel limits. If the unit is old enough that the manufacturer's stopped making that board, replacement of the whole opener becomes the honest recommendation rather than a repair that won't hold.
What You Pay
We don't have a published price list to hand you here, and we're not going to make one up. What we can tell you is what moves the number: whether it's a sensor or a board, whether the opener is a common chain-drive unit or something older and harder to source parts for, and whether the tech has to run new wiring because the existing run is undersized or damaged.
Darby's median household income sits at $45,128, well under the wider service area's median of $109,706. We mention that not to guess at what you can spend, but because it's part of why we lean toward repair over replacement whenever the board or drive gear can genuinely be fixed rather than swapped wholesale - a full opener replacement isn't the first move if a $good part will do the job.
The Complications
The complication we run into most in a town built around 1949 is the electrical behind the unit, not the unit itself. Older detached garages frequently don't have a dedicated circuit - the opener's tapped into whatever line was closest when someone wired it in, sometimes decades after the house was built. That's fine until the opener draws more than the circuit likes, and then you get intermittent faults that look like a bad board but are actually a wiring problem.
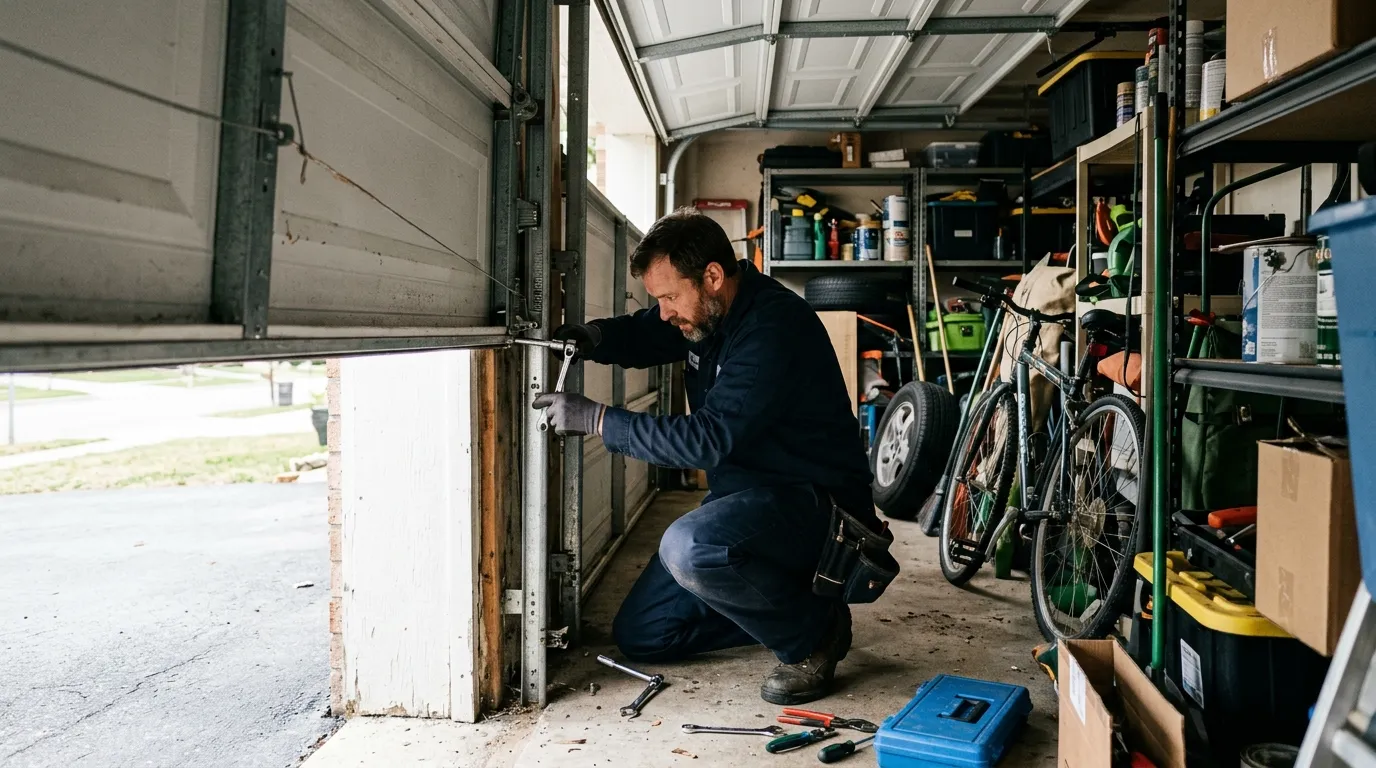
Headroom is the other recurring issue. Garages from this era were often built for the cars of their time, and modern opener rail systems sometimes don't clear the space the way a newer garage would allow. That can mean a low-headroom kit rather than a standard install, which changes both the parts and the time on site.
We'll say plainly: if the garage's wiring needs a real electrician's work before an opener can run safely, that's outside what we do on the same visit. We'll tell you that rather than force a fix that won't hold.
Can You Do This Yourself
Some of it, yes. Realigning a sensor, cleaning the photo-eye lenses, checking that the remote batteries are fresh, tightening a loose bracket - all reasonable for an owner to handle with the manual in hand. Reprogramming a remote or keypad is usually a few button presses, nothing that needs a tech.
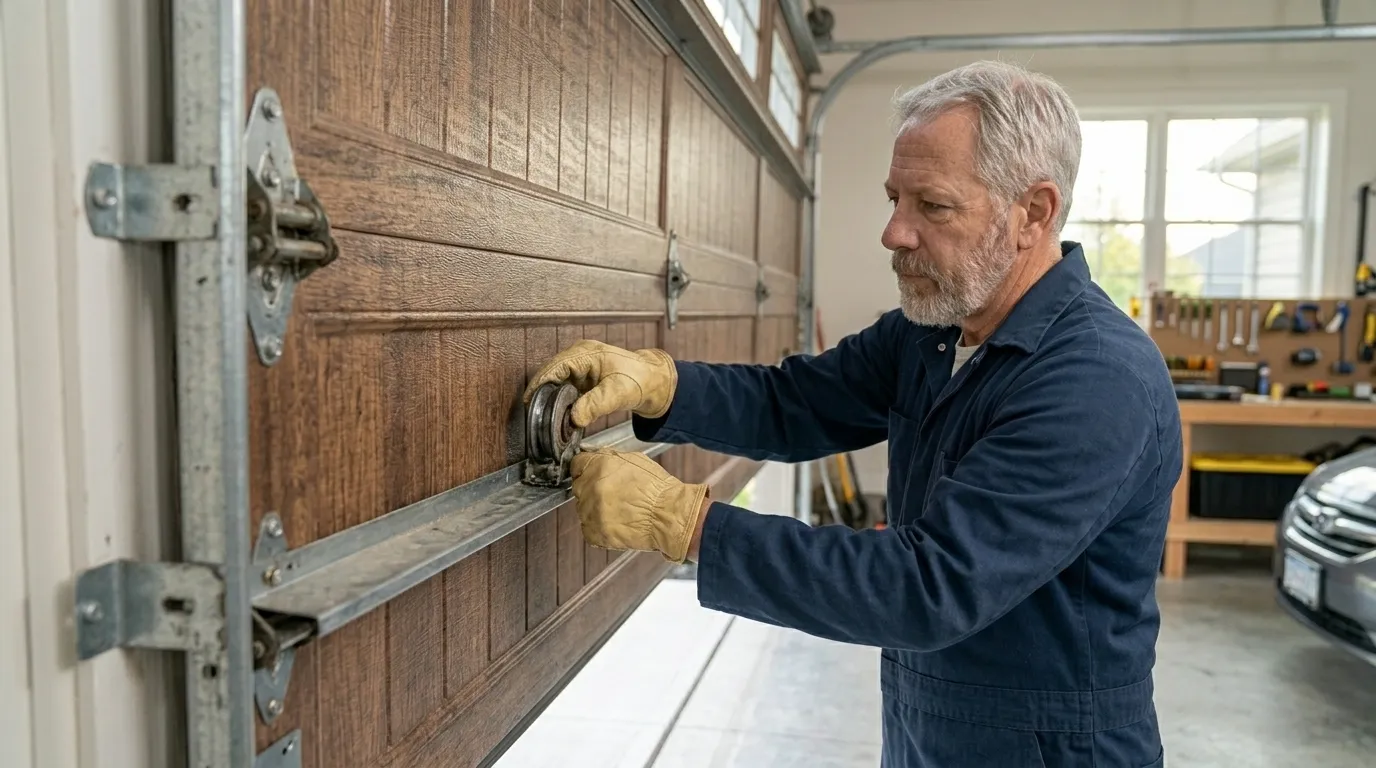
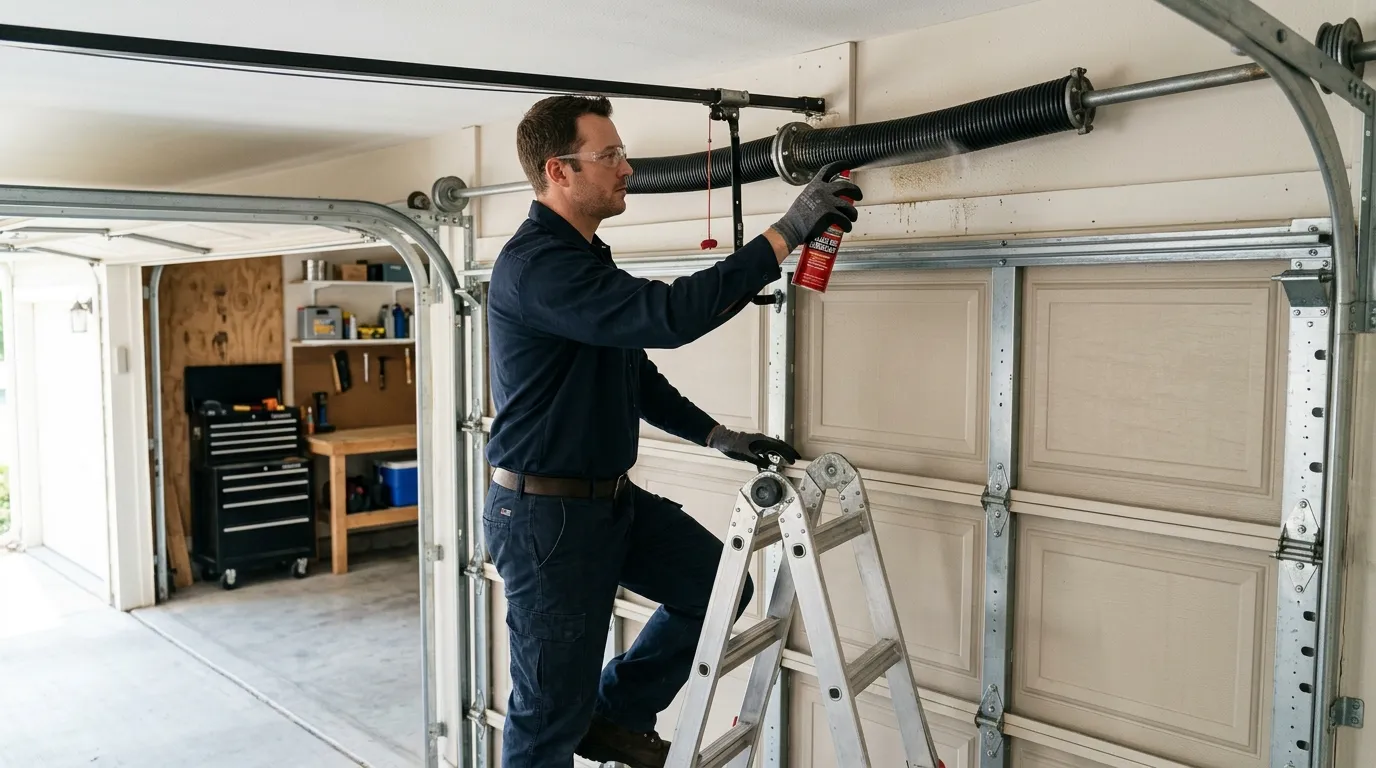
What we don't recommend doing yourself: opening the motor housing, working on the torsion spring or cable system near the opener, or rewiring the circuit feeding the unit. On a house built around 1949, that wiring is old enough that what looks like a simple swap can turn into finding out the circuit isn't grounded the way current code expects. That's not a DIY afternoon - that's a job where getting it wrong means a fire risk, not just a broken door.
Honest limitation: if your opener is old enough that the manufacturer's stopped making the logic board, no amount of skill - ours or yours - fixes that. At that point, replacement is the real answer, and we'll say so instead of billing you for a repair that won't last.